前言
上次已经写了一篇关于在Linux上安装jupyter的教程,但是貌似有点问题,今天新开了一台Centos7,就再照着jupyterhub的官方文档重新装一下。
我只在新开机器上装了宝塔,没注意是否会影响安装。不过还是建议大家装一下,毕竟如果机器配置够(我的配置是2H2G)的话,用起来还是很方便的。
须知:在国内云服务器上安装,没有备案域名就只能通过IP访问。
通过一般方法安装
emmmm,我这样安装的貌似有问题,推荐使用docker一键安装:(
配置python3环境
连接成功后,先输入python,显示Python 2.7.5 (default, Aug 7 2019, 00:51:29),
再输入python3,如果显示的是-bash: python3: command not found字样,则说明机器自带的python是python2.7版本的,不符合官方要求的3.5及以上,所以需要安装python3.
如何安装python3环境,我在在线jupyter安装教程已经提过,
- 知乎大佬给了一段安装python3.6版本的命令,
1 | wget https://www.python.org/ftp/python/3.6.5/Python-3.6.5rc1.tgz |
最新版宝塔也集成了python项目管理,可以在
软件商店搜索python,安装python项目管理器,选择版本管理安装相关版本使用CentOS系统的同学也可以参考这篇[在CentOS上安装Python3的三种方法
当然,我我的机器预装了输入
python3,显示的是Python 3.6.7 (default, Oct 22 2018, 11:32:17),说明版本够了,准备安装jupyterhub
配置nodejs环境
-
如果使用**
conda**,则conda将为您安装nodejs和npm依赖项。如果您正在使用**
pip**,请安装最新版本的 nodejs / npm。例如,使用以下命令在Linux(Debian / Ubuntu)上安装它:1
sudo apt-get install npm nodejs-legacy
我的是CentOS,所以安装命令是
1
sudo yum install npm nodejs-legacy
该
nodejs-legacy软件包将安装node可执行文件,当前是npm在Debian / Ubuntu上运行所必需的。
安装jupyterhub
官网给了conda和pip两种安装方式,我用的是pip,
毕竟,习惯是一种可怕的力量233333
JupyterHub可以使用安装pip,代理可以使用npm:
1 | npm install -g configurable-http-proxy |
如果计划在本地运行笔记本服务器,则需要安装 Jupyter笔记本 软件包:
1 | python3 -m pip install --upgrade notebook |
没有Error字样,基本就是安装成功了,是不是比上次装jupyter简单多了,
启动jupyterhub
要启动集线器服务器,请运行以下命令:
1 | jupyterhub |
或者使用以下命令
1 | nohup jupyterhub > jupyterhub.log & |
在后台运行。
但是这样启动之后还貌似需要配置Nginx才可以通过网络访问https://ip:port/jupyter,有点麻烦。
通过docker安装(推荐)
docker的安装
关于安装,网上已经有很多的教程了。
可以参考:
安装成功后,输入sudo systemctl start docker启动docker,
再输入sudo docker run hello-world,
如果输出:
1 | Hello from Docker! |
即为安装成功。
docker安装jupyterhub
输入
1 | docker run -d -p 8000:8000 --name jupyterhub jupyterhub/jupyterhub jupyterhub |
在浏览器中,打开 https://ip:8000 可以看到
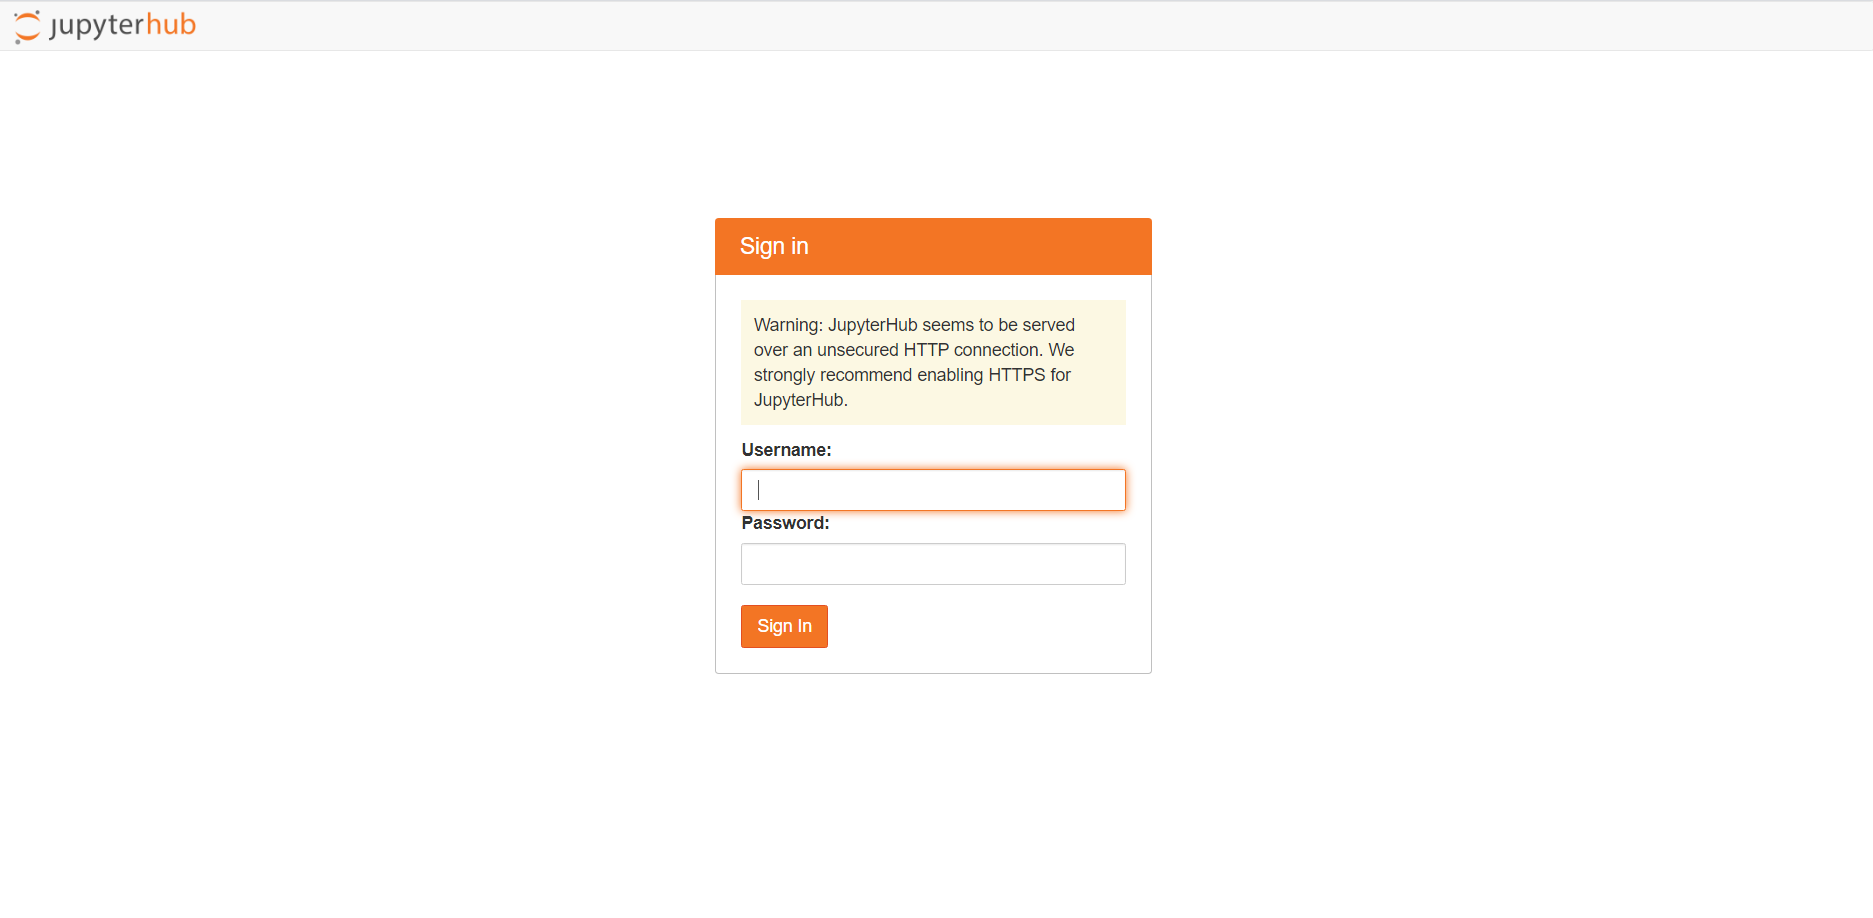
安装完成。